How to Install Antique Mirror Tiles
How to Install Antique Mirror Tiles
Installing antique mirror tiles is straightforward when handled with care and the correct materials.
This guide explains how to measure your space, prepare surfaces, apply professional mirror adhesive and fit tiles securely for kitchen splashbacks, bathroom walls, feature walls and fireplace surrounds.
If you're planning an antique mirror kitchen splashback, we recommend reviewing our Kitchen Splashbacks inspiration page to understand layout styles and edge detailing before installation.
For bathroom projects, visit our Bathroom Designs gallery to see how antique mirror performs in humid environments when installed correctly.
Preparing for Installation
Before installation:
• Ensure the wall surface is clean, dry and level
• Confirm measurements using our Layout Designer
• Check all tile dimensions before applying adhesive
Our Layout Designer allows you to calculate tile quantities, visualise layout patterns and account for socket or edge cuts before ordering.
Cutting Antique Mirror Tiles
Cutting antique mirror tiles should always be carried out using professional glass cutting tools.
For socket cut-outs, corner details or bespoke sizing, we recommend ordering pre-cut tiles to ensure precision and avoid damaging the silver backing.
Applying Mirror Adhesive
Always use a professional mirror adhesive suitable for antique mirror installations.
Standard construction adhesives may damage the silvered backing. Our recommended Mirror Adhesive ensures a secure, lasting bond without affecting the finish.
Apply adhesive evenly in vertical beads and press tiles gently into position without excessive pressure.
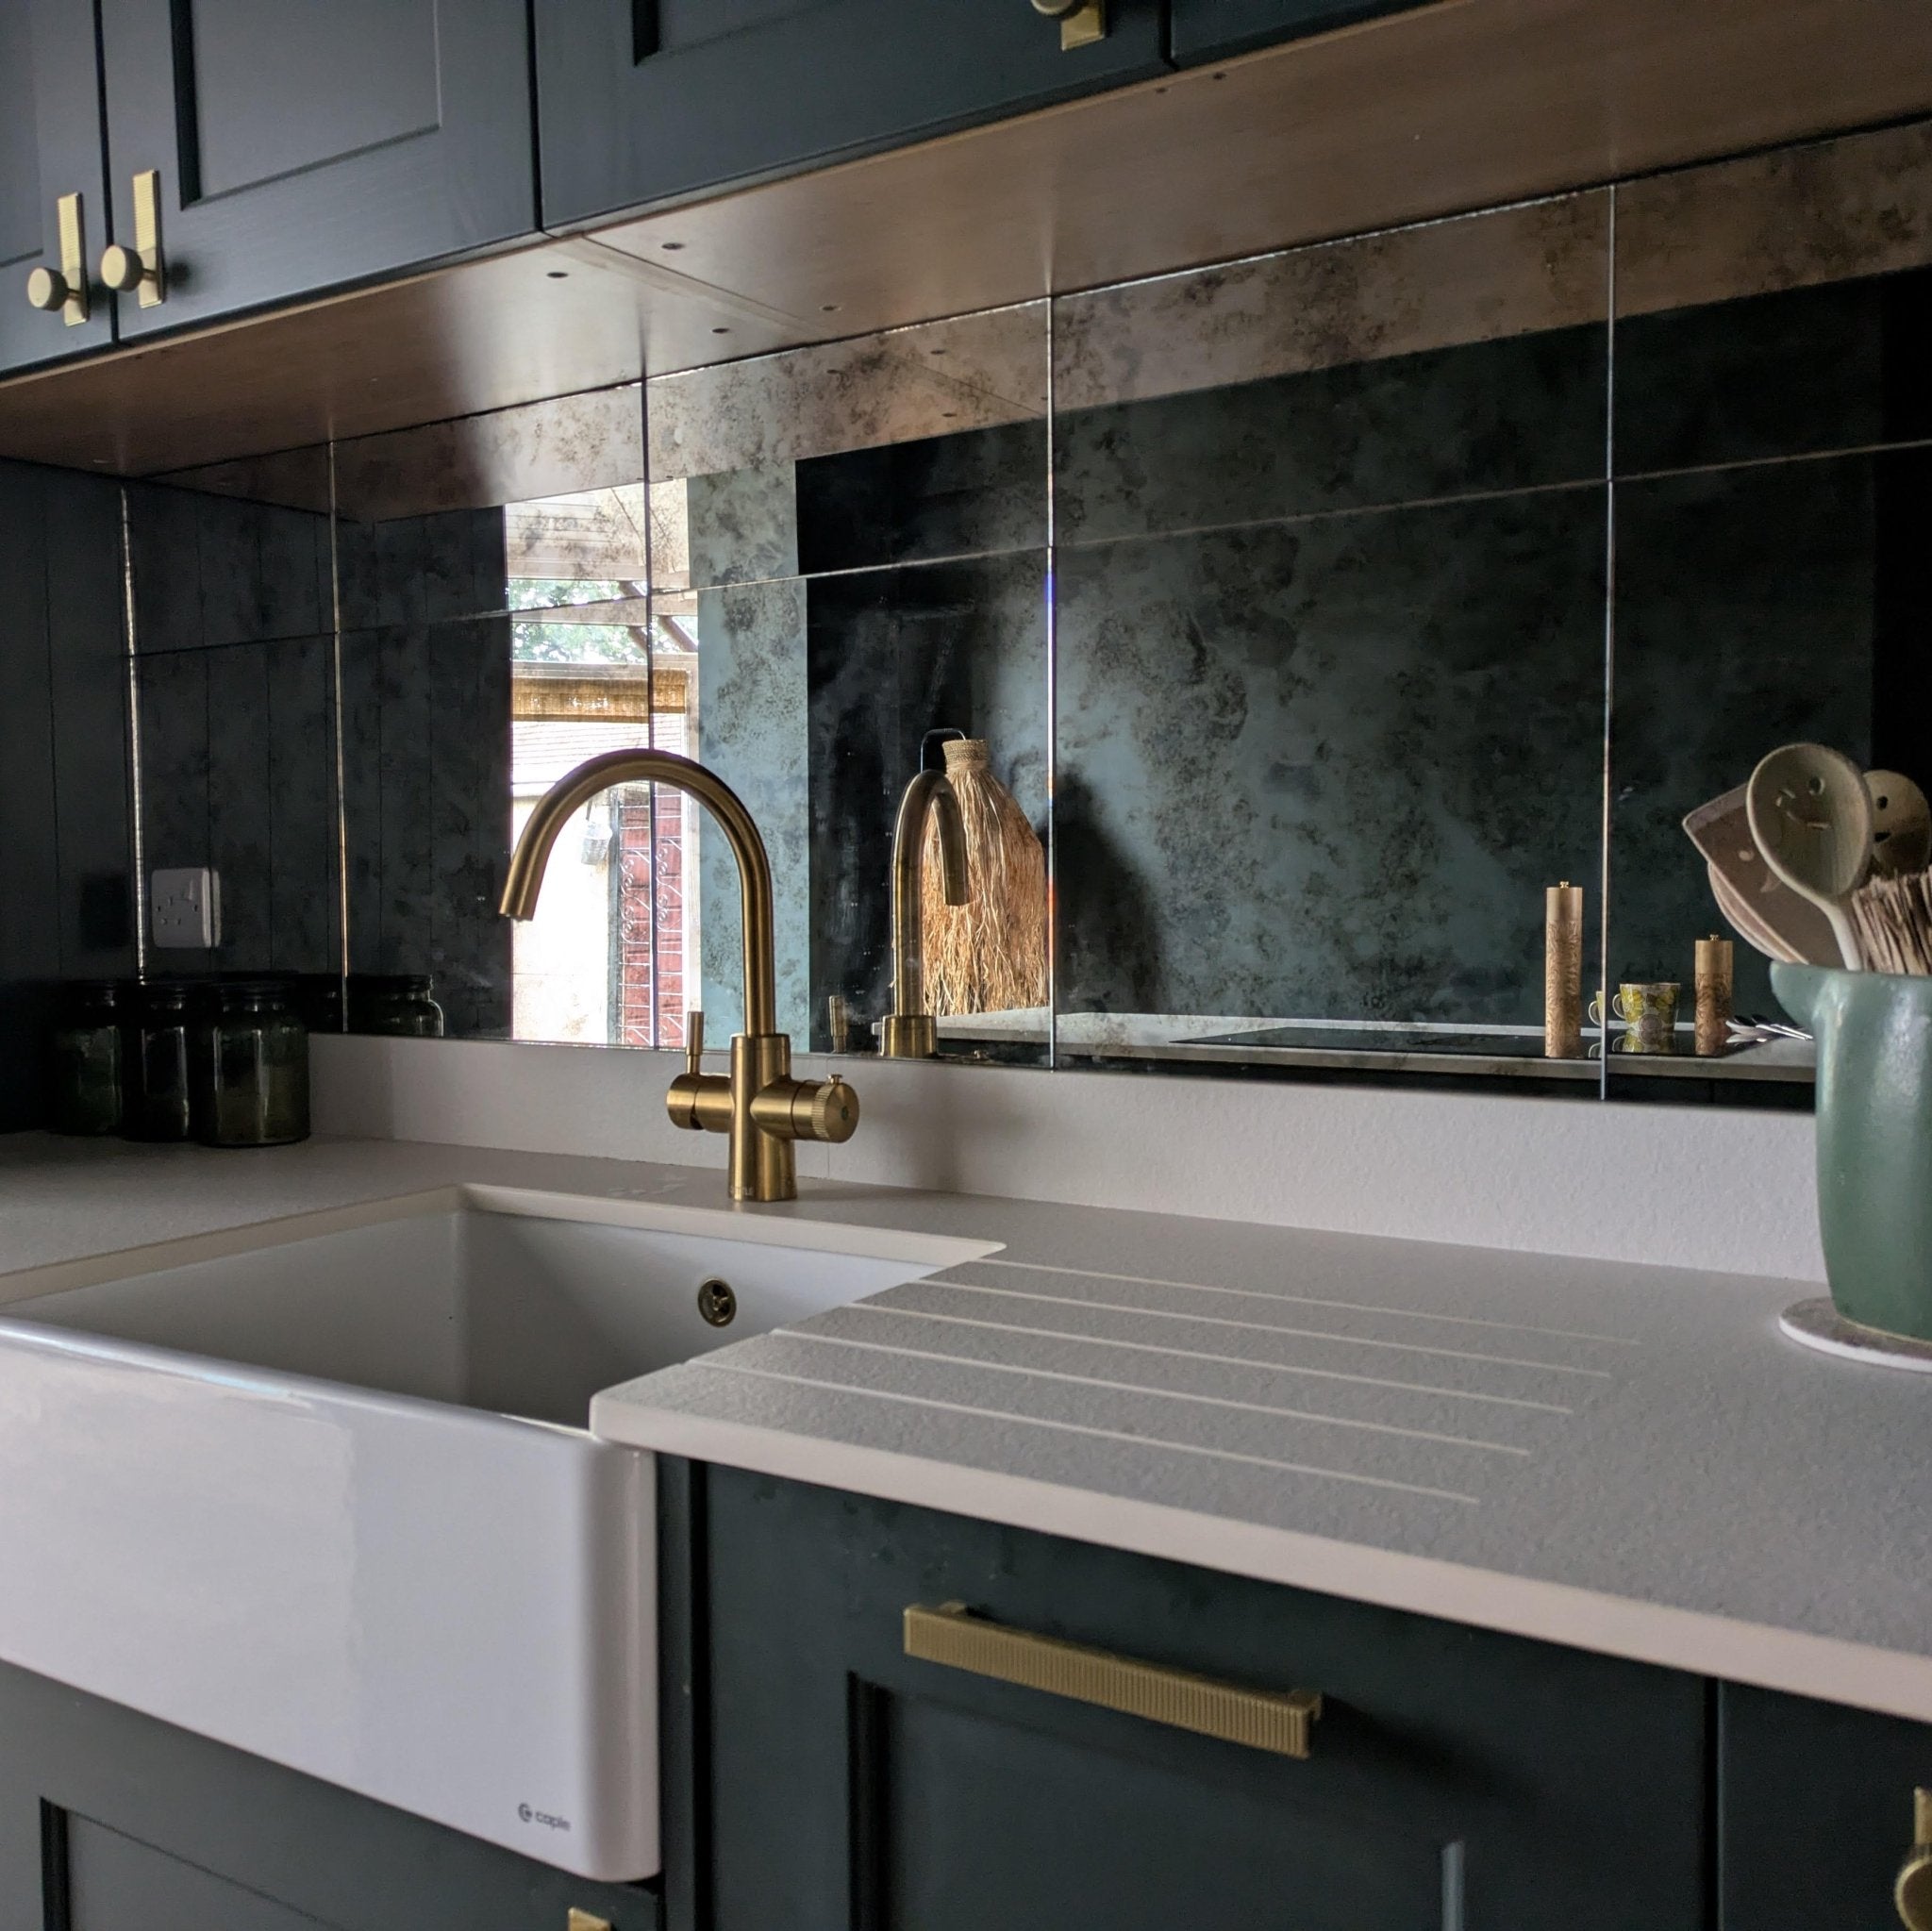
When installed correctly, antique mirror tiles create a seamless, light-reflective surface that enhances depth and warmth across kitchens, bathrooms and living spaces.
For bespoke advice or trade projects, please contact us directly.
Our Simple Fitting Steps
1. Measure Your Space
Measure the height and width of your area in millimetres (mm). Our tiles measure 400mm × 400mm, each covering 0.16m².
Use our Tile Calculator to determine quantities, or send us your dimensions and we’ll gladly assist.
Calculate My Tiles →Our Simple Fitting Steps
2. Prepare the Surface
Ensure the wall is clean, dry and free from grease or dust.
Repair any holes and smooth uneven areas to create a flat, stable base. A well-prepared surface ensures a secure and beautifully aligned installation.
Our Simple Fitting Steps
3. Bespoke Cutting
Your Antique Mirror Tiles can be cut to suit your layout. We offer a professional cutting service prior to delivery including perimeter cuts and sockets. Use our Layout Designer to choose how you'd like your tiles to sit.
Request Bespoke Cuts →Our Simple Fitting Steps
4. Apply The Adhesive
Using a standard application gun, apply five vertical lines of our professional adhesive to the back of each tile, approximately pencil thickness.
Keep adhesive around 20mm from the edges to prevent squeeze-out. As a guide, one tube covers approximately six tiles.
Our Simple Fitting Steps
5. Position and Align
Begin from the centre of the bottom row and work outwards.
Press each tile firmly into place, adjusting gently before the adhesive sets. Use a level as you go to maintain a clean, balanced finish.
Our Simple Fitting Steps
6. Allow to Cure
Leave the adhesive to set fully, typically around 24 hours.
Allowing sufficient curing time ensures a secure and lasting bond.
Our Simple Fitting Steps
7. Final Clean
Once set, gently polish the surface using a soft cloth. A light glass cleaner may be used if needed. Avoid harsh or abrasive products.
Our Simple Fitting Steps
8. Ongoing Care
Clean regularly with a soft cloth and gentle glass cleaner. Avoid abrasive pads or chemicals to preserve the aged finish.
With thoughtful care, your antique mirror will retain its warmth and character for years to come.
Ready to Begin?
Explore our Antique Mirror Collection and create something beautifully reflective of your space.
Explore the Collection →Fitting, Made Simple
Installing antique mirror tiles is simpler than you might think. In this short video, we guide you through the process step by step - from preparation to final polish. Thoughtful, precise, and beautifully straightforward.

Prefer written guidance? Our full fitting guide is available below and we’re always here if you’d like personal advice for your space.
Should you require our Bespoke Cutting Service your tiles are cut to your measurements and cannot be cancelled or returned once produced. Please double-check all dimensions before ordering.
Please inspect all tiles immediately upon delivery before cutting or installation.
Designed to fit beautifully into your space.
Our Bespoke Cutting Service ensures your tiles arrive prepared and ready to install. From clean straight-edge trims to detailed socket cut-outs, each cut is handled with precision and care. Simply share your measurements before ordering, and we’ll prepare your tiles to suit your space perfectly.

Standard Cuts to Fit Your Space
Share your measurements and a photo of your space, and we’ll prepare a tailored Layout Design and quote. Please allow 5–7 working days for your Fragile delivery.
(£10 per cut min. £20).

Socket and Detail Cuts
For plug sockets and more intricate areas.
We’ll guide you on what’s possible, or advise if a specialist glazier is recommended.
(£75 per socket cut)
✦ Bespoke cutting available
✦ Suitable for kitchens & bathrooms
✦ Handcrafted & individually aged
✦ UK-wide fragile delivery
Ready to Begin?
Explore our Antique Mirror Collection and create something beautifully reflective of your space.
Guidance to help you install with confidence and plan your project with ease.
Fitting and Cutting FAQ
Measuring and Planning
Measure the height and width of your space in millimetres and use our Layout Designer to estimate quantities. If you’d prefer support, simply email us your dimensions and we’ll happily guide you.
We recommend allowing 10 - 15% extra for cuts, edges and unexpected adjustments, particularly around sockets or detailed areas.
They are suitable for kitchens and fireplace surrounds, but should not be exposed to direct or sustained heat.
As long as there is appropriate distance from open flames or intense heat sources, they perform beautifully.
Cutting Service
Yes. Our Bespoke Cutting Service ensures your tiles arrive ready to fit. We can prepare straight-edge trims and more detailed socket cut-outs.
Straight cuts are £6 per cut (minimum £20). More intricate cuts, such as sockets are £75 each, all other cuts are quoted based on complexity.
Please email your confirmed dimensions along with a photo of your space before ordering. We will provide a complimentary cut layout plan and quotation.
Please allow 5–7 working days for orders requiring bespoke cuts.
Installation
We recommend using our professional mirror adhesive, available in our online shop. As a guide, one tube covers approximately six tiles.
Yes, they are ideal for splashbacks and bathrooms. Ensure proper ventilation and avoid sustained direct heat or heavy splash zones unless appropriately sealed.
No - we recommend installing the tiles edge to edge for a seamless finish, so grout is not usually necessary.
Not usually. If self-installing in a moisture-prone area, we suggest using a clear sealant along exposed edges for added protection.
Care & Longevity
Use a soft, lint-free cloth. A gentle glass cleaner may be used if needed. Avoid abrasive products or harsh chemicals.
No two tiles are ever exactly the same. Subtle variation in tone and ageing is part of the character and beauty of antique mirror.