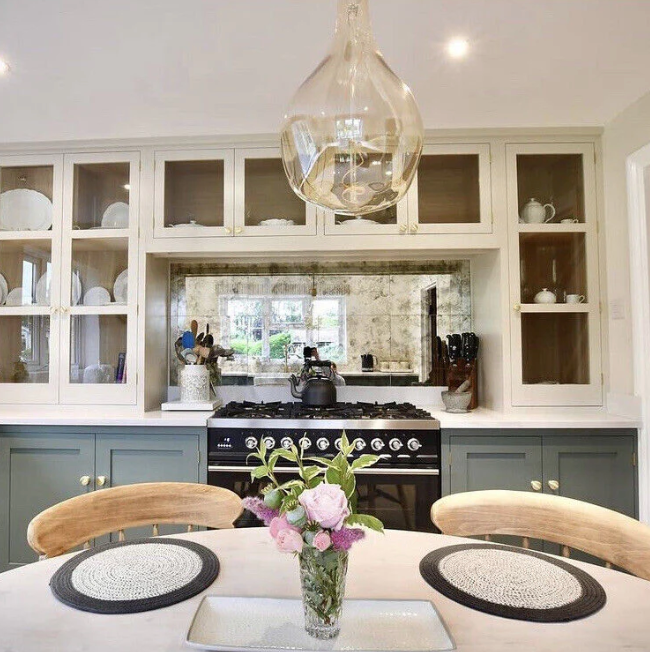
Antique Mirror Fitting Guide
Our Antique Mirror Tiles can be easily applied to any solid surface. Follow our 8 steps below and create this look yourself using our professional adhesive. Downloadable guide also available below.

OUR 8 SIMPLE FITTING STEPS
#1 MEASURE + PLAN
Find Your Dimensions: by measuring the height and width of your desired areas in millimetres (mm).
Our Antique Mirror Tiles are 40mm x 40mm.
To find out how many tiles you require use our Tile Calculator or email us your dimensions and we can assist you.
SHOP THE LOOKOUR 8 SIMPLE FITTING STEPS
#2 PREPARE YOUR SPACE
Clean the Wall: ensure it is free of grease, dirt, and dust. A clean surface helps the adhesive bond better.
Smooth the Wall: Repair any holes or uneven areas to create a flat, smooth surface.
OUR 8 SIMPLE FITTING STEPS
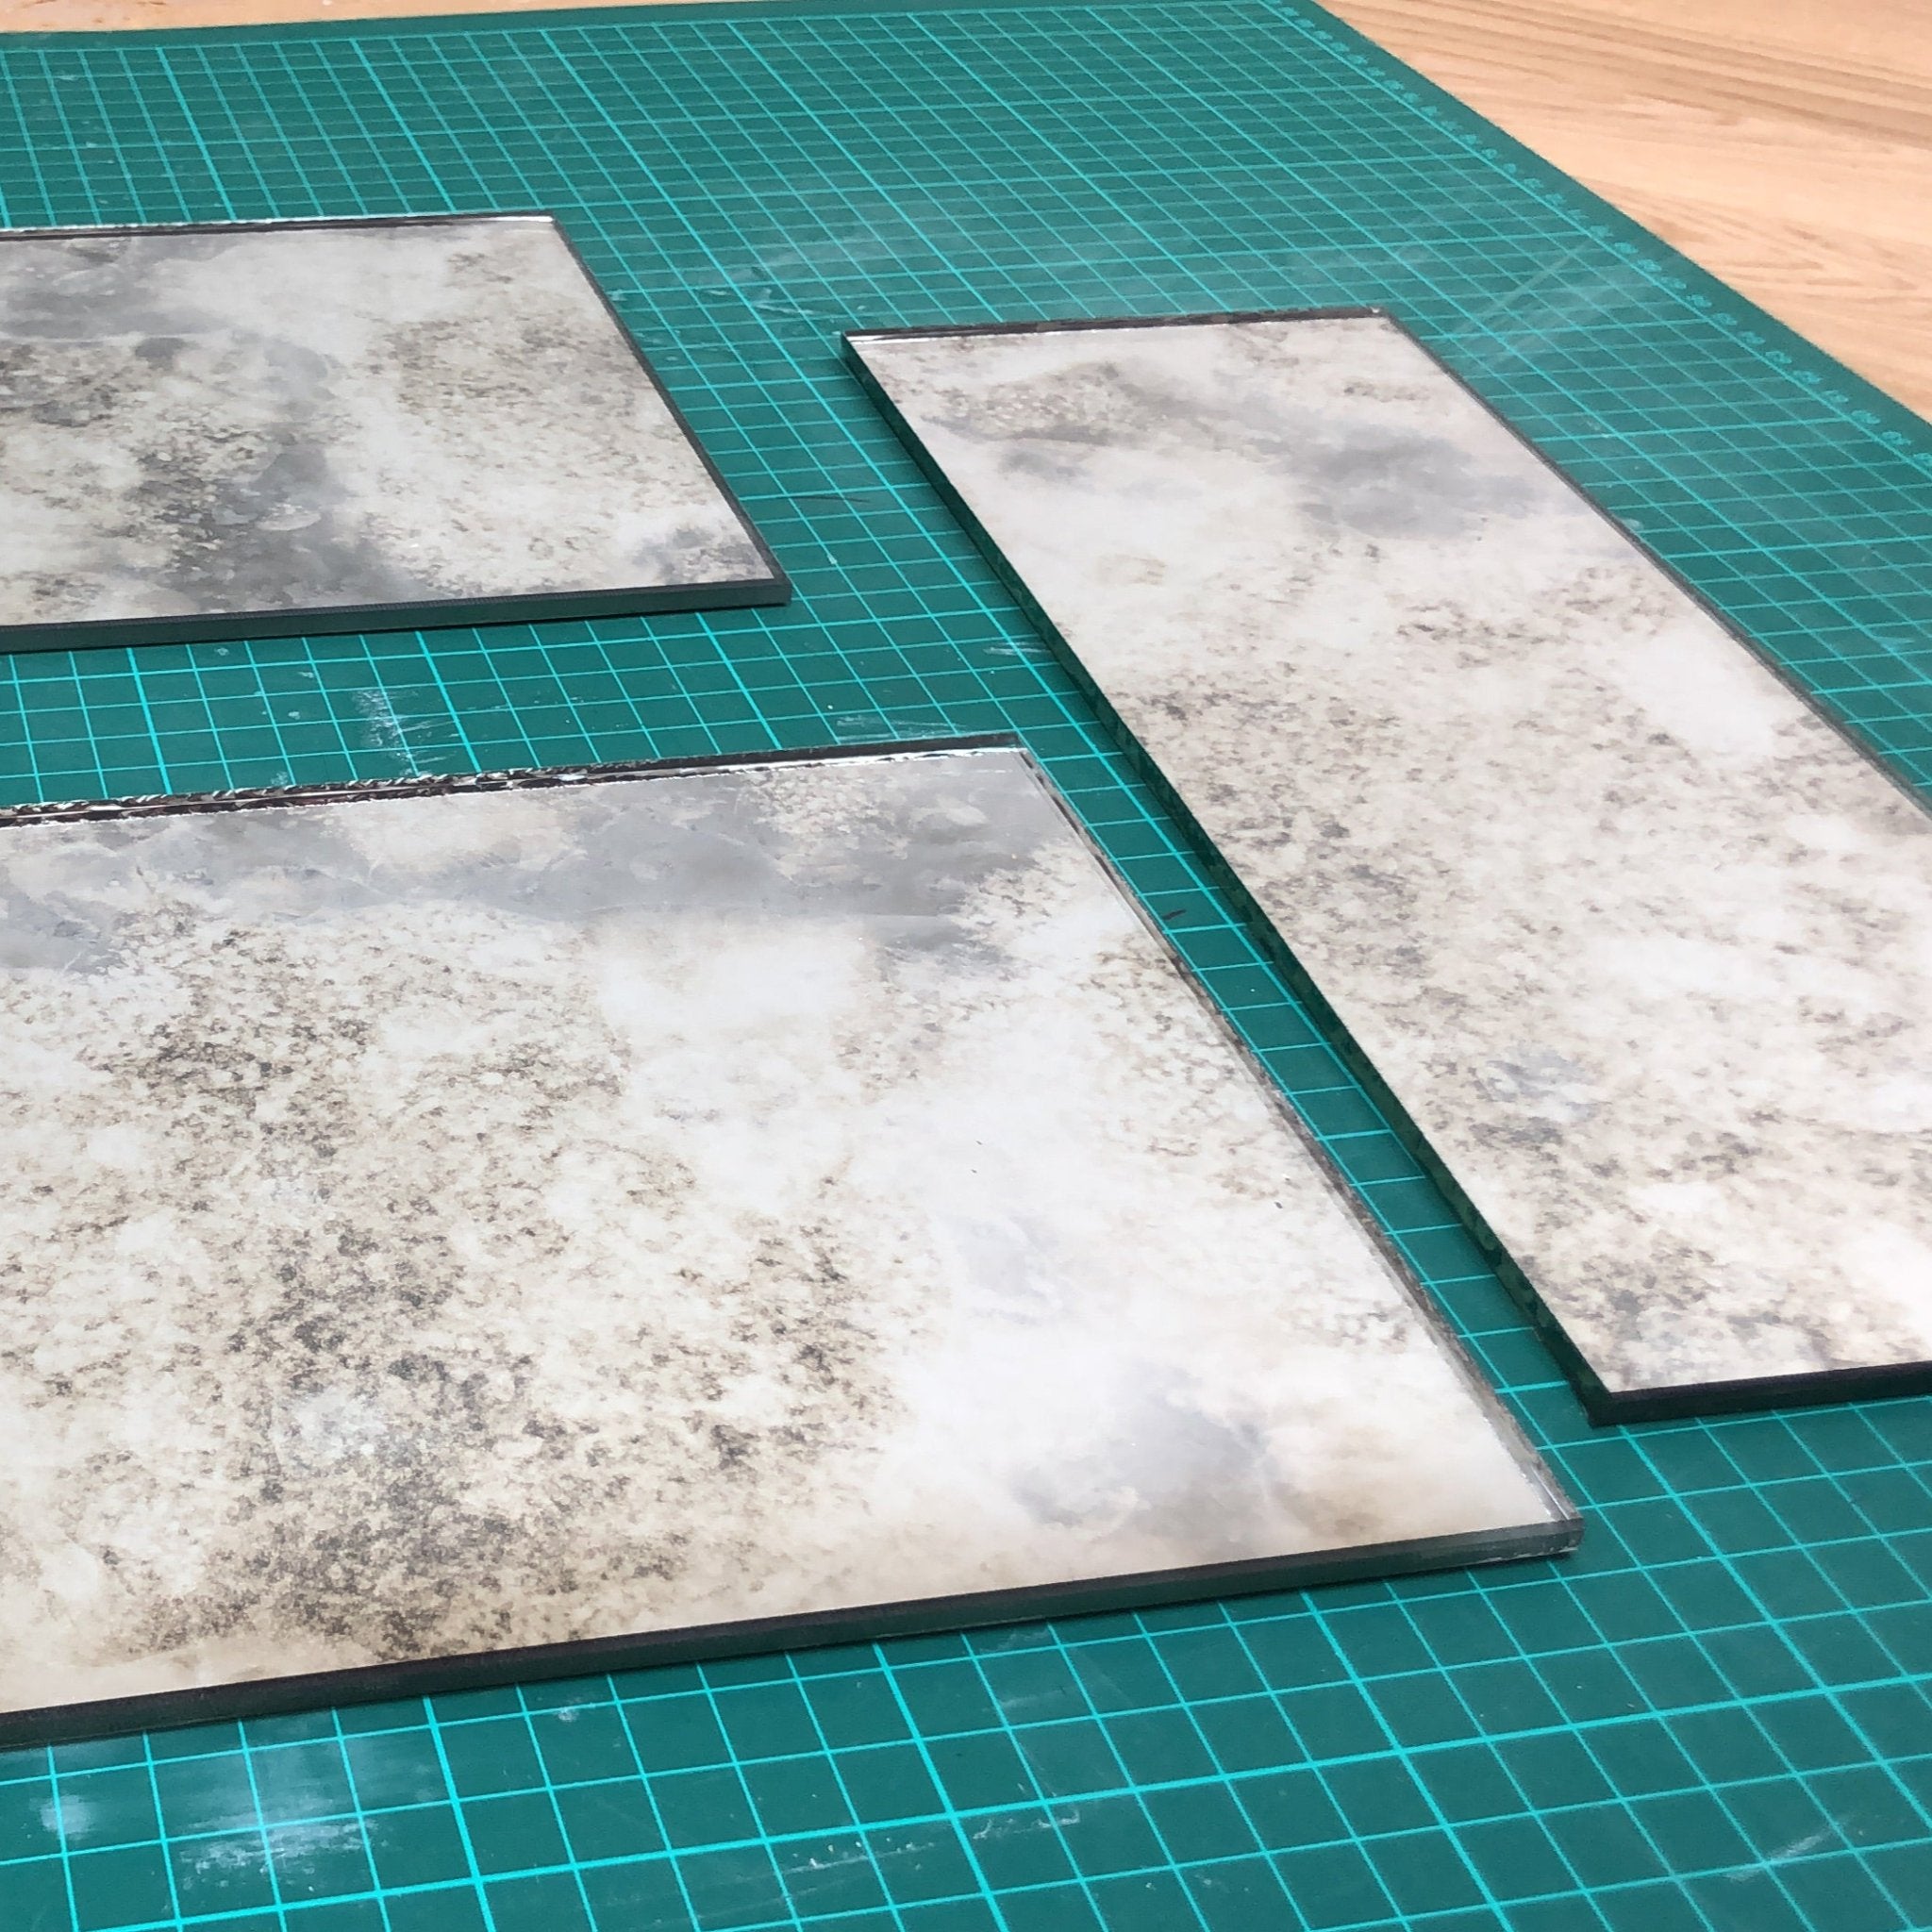
#3 CUT TILES
To ensure an accurate fit we provide a professional cutting service prior to delivery at an additional cost of £5 per cut (minimum of £20). Please email us correct dimensions prior to placing your order. For more intricate cuts including sockets, we recommend finding a local Glazier.
shop the lookour 8 SIMPLE FITTING STEPS
#4 APPLY ADHESIVE
Using a DIY gun for application apply 5 lines of adhesive approximately pencil thickness to the back of the tile. Keep the adhesive around 20mm from the edge to prevent squeeze out when fitting
A tube of our Mirror adhesive will be enough to cover 6 tiles,
SHOP THE LOOKouR 8 SIMPLE FITTING STEPS
#5 PLACE TILES
Press Tiles Firmly: Starting on the bottom row and in the center of the wall, working outwards, Press each tile into the wall and slide into position for any adjustment.
Check Alignment: Use a level to ensure the tiles are straight as you go. Adjust as necessary.
SHOP THE LOOKOUR 8 SIMPLE FITTING STEPS
#6 LEAVE TO DRY
Curing Time: Allow the adhesive to dry for the time recommended by the manufacturer, usually 24 hours.
SHOP THE LOOKOUR 8 SIMPLE FITTING STEPS
#7 FINAL CLEAN
Clean the Tiles: Use a soft cloth and glass cleaner to clean the surface of the tiles, removing any remaining adhesive or grout haze.
shop the lookOUR 8 SIMPLE FITTING STEPS
#8 MAINTAIN
Regular Cleaning: Keep your tiles clean with regular wiping using a glass cleaner and soft cloth.
Avoid Abrasives: Do not use abrasive cleaners or pads as they can scratch the mirror surface.
SHOP THE LOOK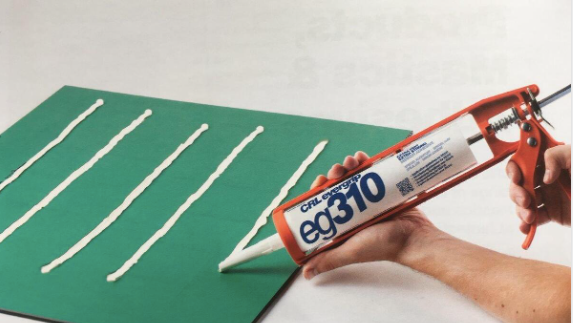
more info on fitting your antique mirror tiles correctly...
Straight Cuts
Require tiles to be cut to a specific size, please email us with your overall dimensions along with a picture of your space prior to delivery. We will create you a complimentary 'Cut Layout Plan' and Quote. Please allow 7-10 working days for delivery.
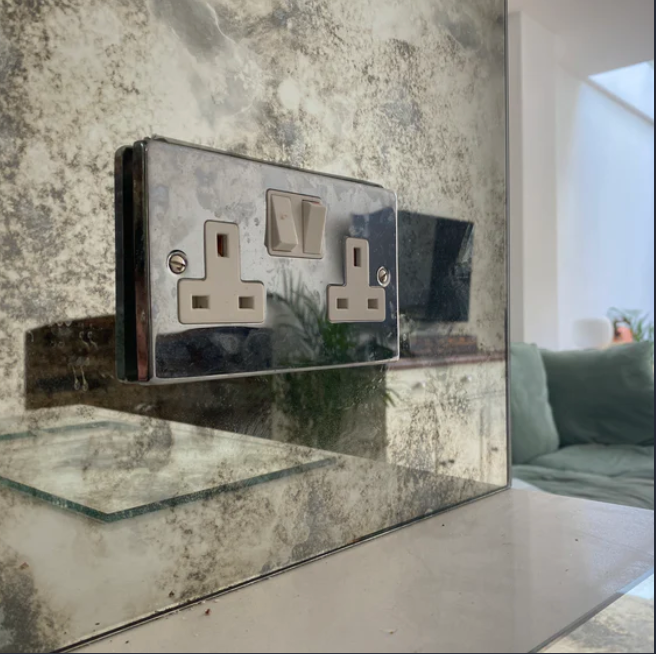
Socket Cuts
Our Antique Mirror Tiles can be drilled or cut for sockets. We recommend you visit a local glass cutting shop for any specialist cuts along with your cutting template. Your fitter may also be able to help with this.
installation
Installation couldn't be easier! No Grouting or spacing required, simply use our Mirror Adhesive to the advised specification for a fast and efficient finish.
Download our fitting guide here.
Kind words from our clients
"Products arrive promptly. Customer service is amazing and responsive."
Dolapo Awoyinka - 2024
'I have bought antique effect mirror from
Retro Reflections before. Both times have been very happy experiences.The website is clear , the product is exactly as it appears and is described and arrives well packaged safely next day. RR deserve praise for this achievement. Purchasing with confidence means a lot.
As an interior designer I like the effects I can achieve with the antique look rather than a ‘hard ‘ reflection. I’ve even ‘ played’
With the look by having the proportions of the mirror panels altered by cutting and having antique brass studs at the intersections!
I have written at length because I am very pleased with the product and service from RR.'
Ralph White - September 2024
"Fantastic service. All questions answered in the chat function on the website and also provided with how many boxes I would need to fit the space. Tiles were cut to size by a local glaziers and easily fitted. They look amazing in the space. The delivery was also super fast. Brilliant company who I would recommend and use again if needed."
Rachel Gisby - 11 September 2024
"Fabulous mirrors and excellent customer service. The antiquing is very authentic, more than similar priced companies."
"Buying from retro reflections was a joy , i had a query and they rang me to update me and the mirror is amazing. Thank you retro reflections for a great shopping experience"
Karen Joyce - 15 January 2025