Creating your Kitchen Splashback by Retro Reflections
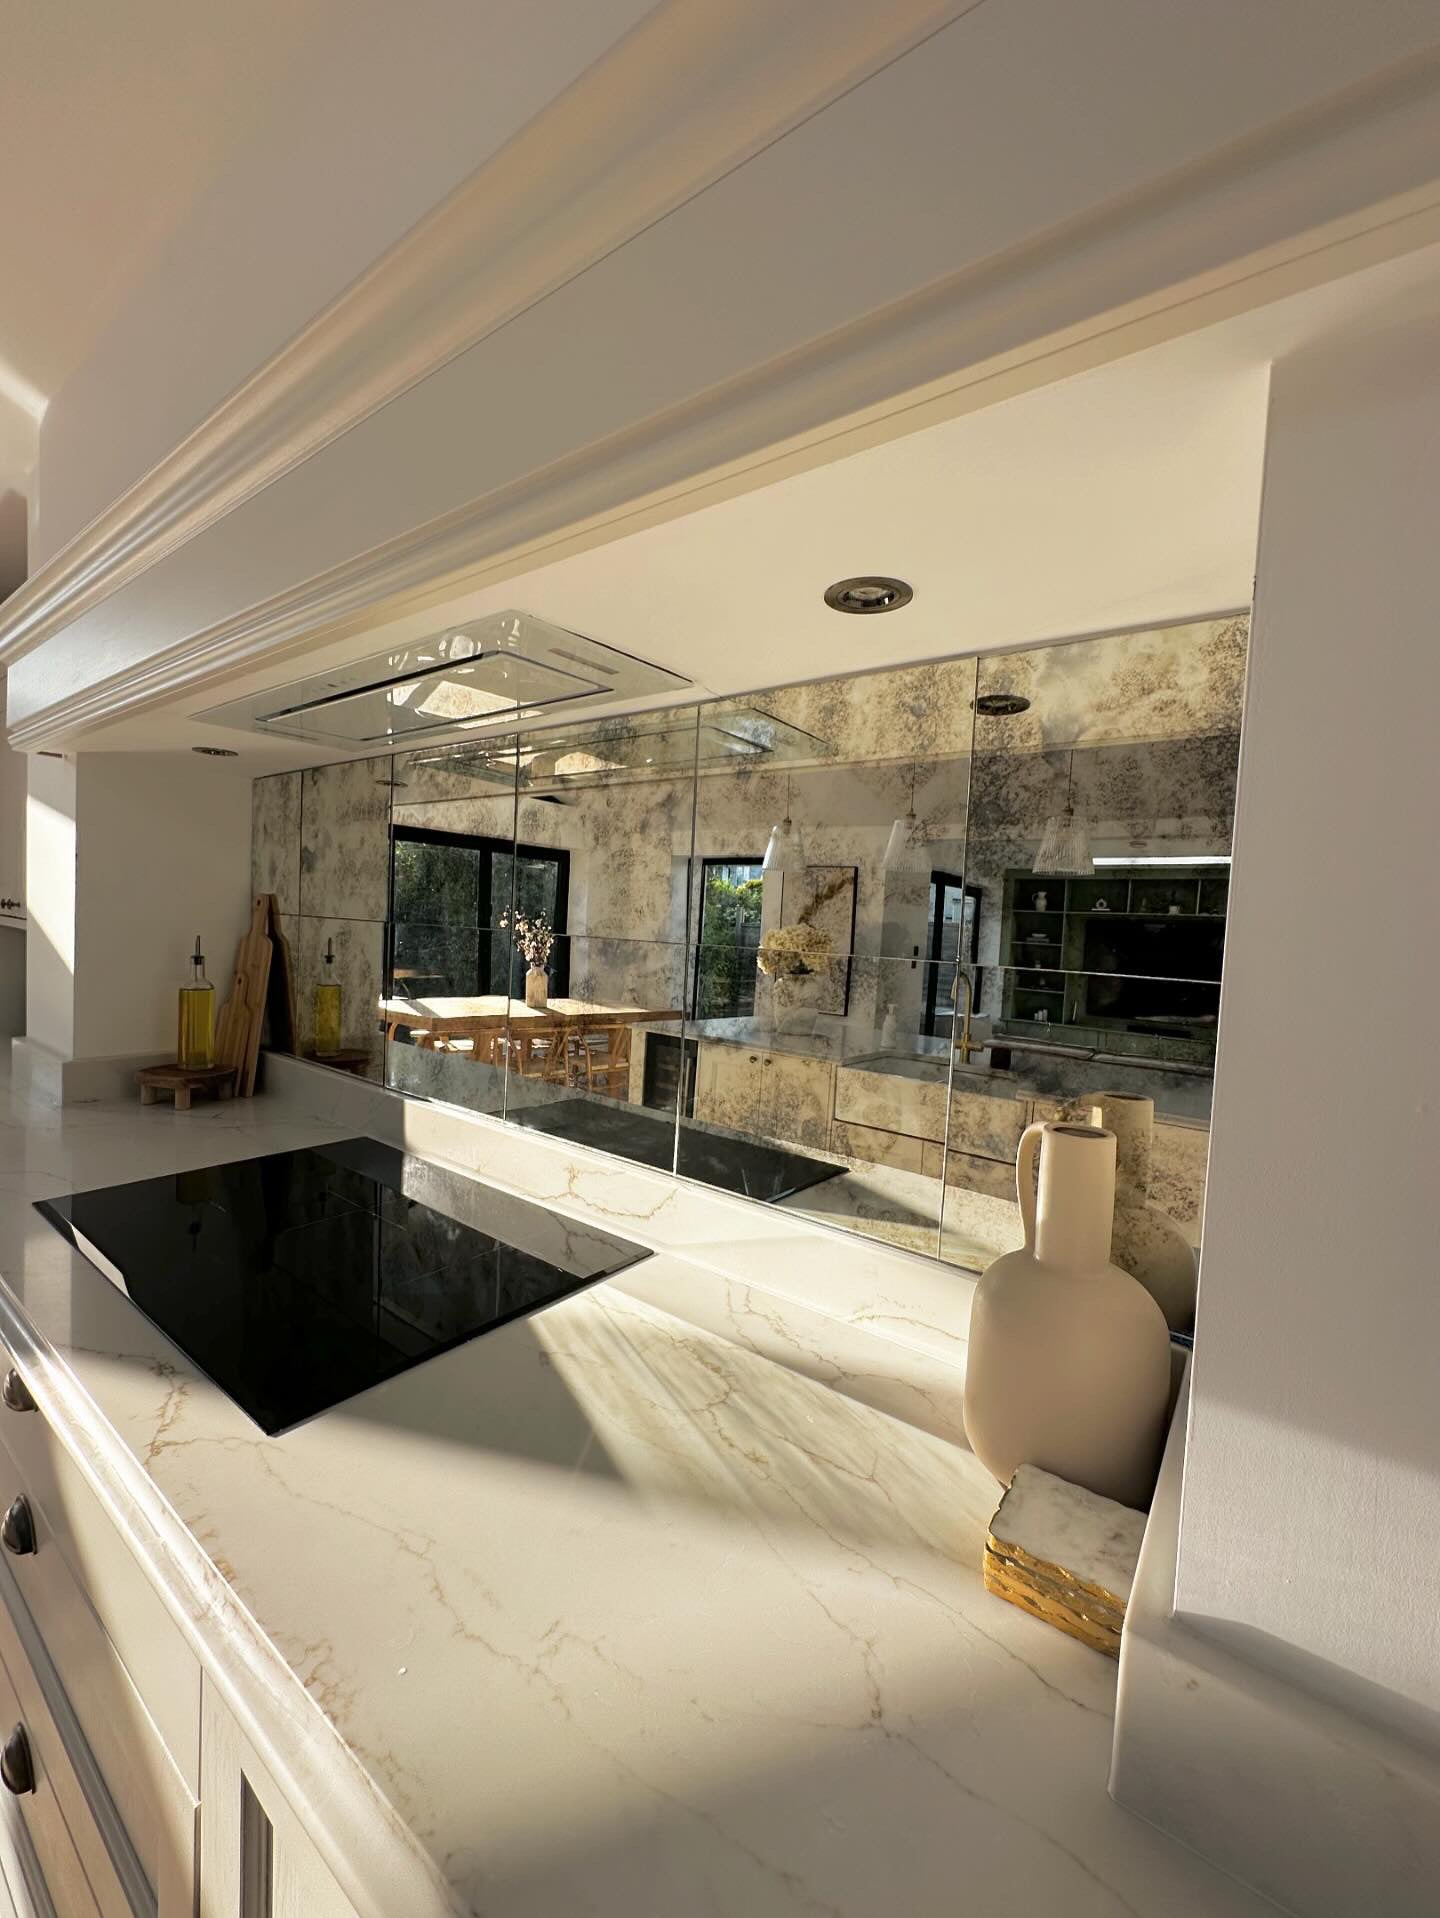
A kitchen splashback, also known as a backsplash, is an essential element in kitchen design that serves both functional and aesthetic purposes. It protects the wall behind the countertop from splashes, stains, and spills, while also adding a decorative element to the kitchen. Here’s a comprehensive guide on choosing and installing a kitchen splashback, with a focus on using antique mirror tiles:
Choosing Your Kitchen Splashback
1. Material Selection
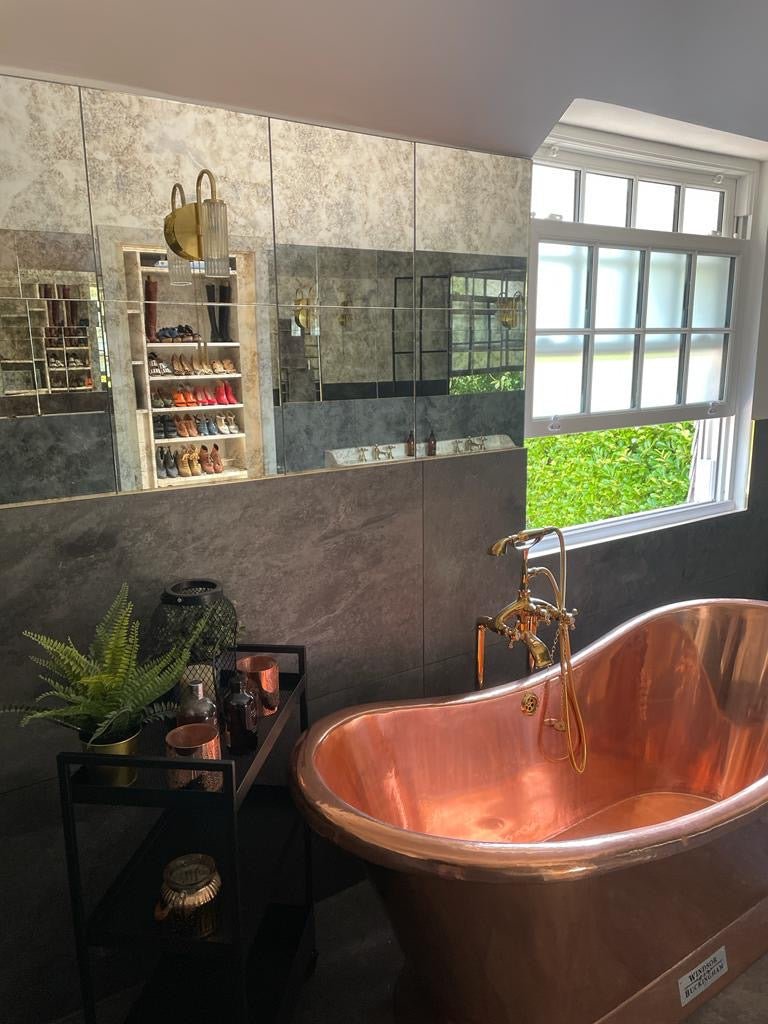
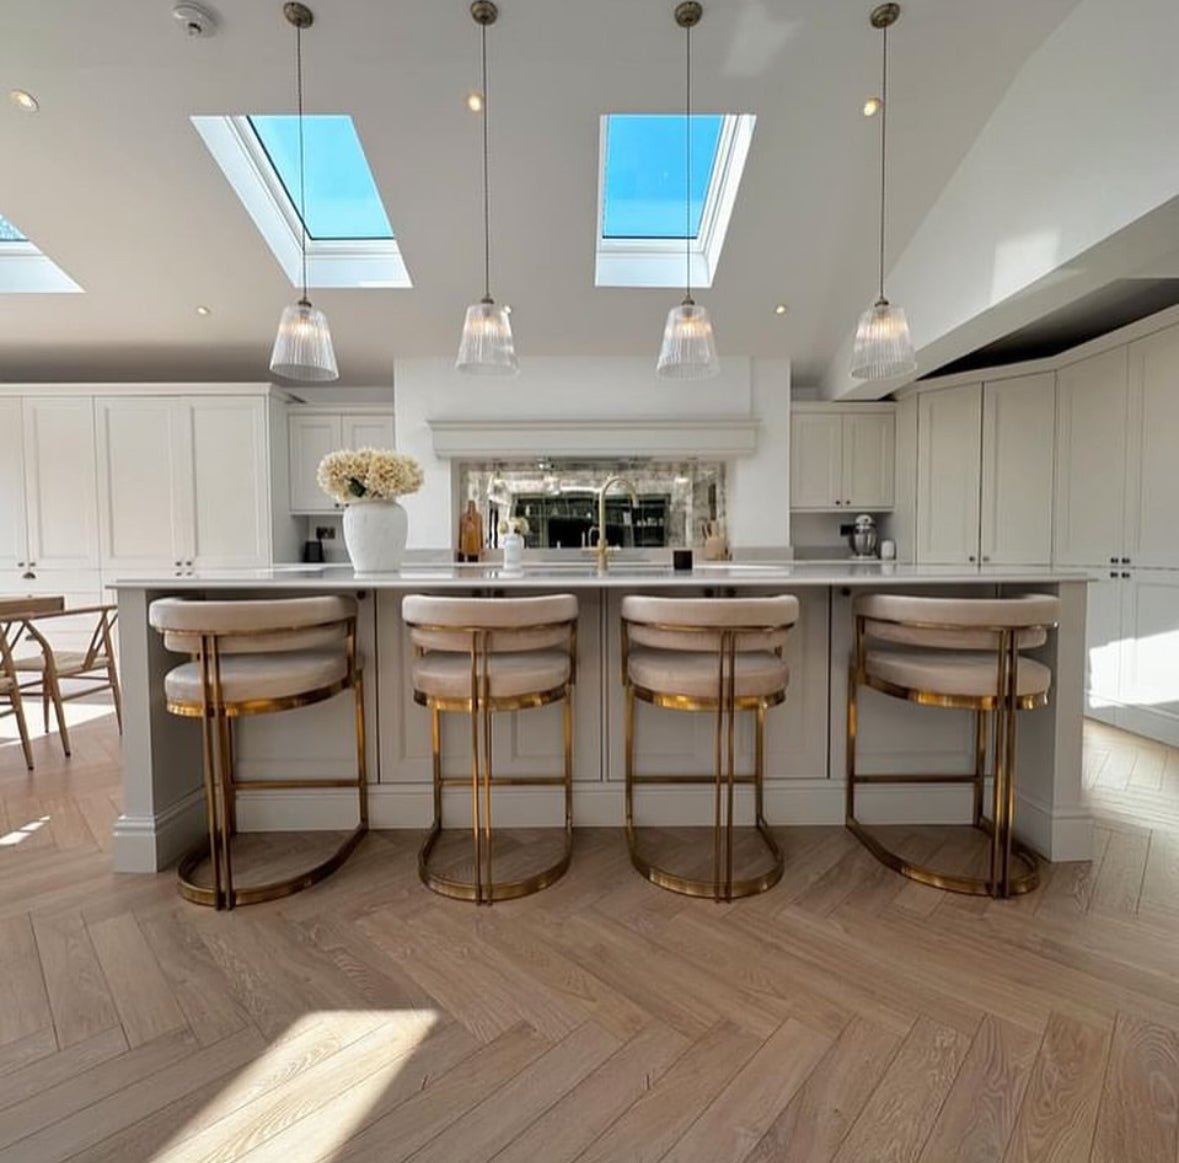
- Antique Mirror Tiles: These tiles add a vintage charm and can make a small kitchen appear larger by reflecting light.
2. Design and Style
- Consider the overall theme and colour scheme of your kitchen.
- Antique mirror tiles work well with vintage, eclectic, or modern styles.
- Mix and match with other materials for a unique look.
3. Functionality
- Easy to clean and maintain.
- Resistant to heat and moisture.
- Durability for long-lasting use.
Installing Antique Mirror Tiles as a Kitchen Splashback
Tools and Materials Needed
- Antique mirror tiles
- Professional Tile adhesive
- Notched trowel
- Safety gear (gloves, safety goggles)
- Measuring tape
- Level
Step-by-Step Installation
-
Measure the Area
- Measure the height and width of the splashback area to determine the number of tiles needed.
-
Prepare the Wall
- Clean the wall to remove any grease, dirt, or dust.
- Ensure the surface is smooth and dry.
-
Plan the Layout
- Lay out the tiles on the floor to visualize the pattern and make necessary adjustments.
- Ensure any cut tiles are positioned in less visible areas (like corners).
-
Cut the Tiles - we can do this for you!
- If necessary, cut the tiles to fit the edges using a glass cutter or wet saw.
- Always wear safety gear while cutting.
-
Apply Adhesive
- Spread tile adhesive on the wall using a notched trowel.
- Work in small sections to prevent the adhesive from drying out.
-
Place the Tiles
- Press each tile firmly into the adhesive, starting from the bottom and working upwards.
- Use tile spacers to maintain even gaps between tiles.
- Check alignment with a level periodically.
-
Let the Adhesive Dry
- Allow the adhesive to dry according to the manufacturer’s instructions, usually 24 hours.
-
Clean the Tiles
- Clean the surface of the tiles with a glass cleaner and a soft cloth.
Maintenance Tips
- Regular Cleaning: Wipe down the splashback regularly with a glass cleaner to keep it sparkling.
- Avoid Abrasive Cleaners: These can scratch the mirror surface.
- Reapply Grout Sealer: Periodically reapply grout sealer to maintain its effectiveness.
Conclusion
Installing an antique mirror tile splashback can transform your kitchen, adding elegance and a sense of spaciousness. By carefully selecting materials and following the installation steps, you can achieve a stunning and practical kitchen feature. Regular maintenance will ensure it remains beautiful and functional for years to come.
#retroreflections


Leave a comment
This site is protected by hCaptcha and the hCaptcha Privacy Policy and Terms of Service apply.