How to install our Antique Mirror Tiles with ease!
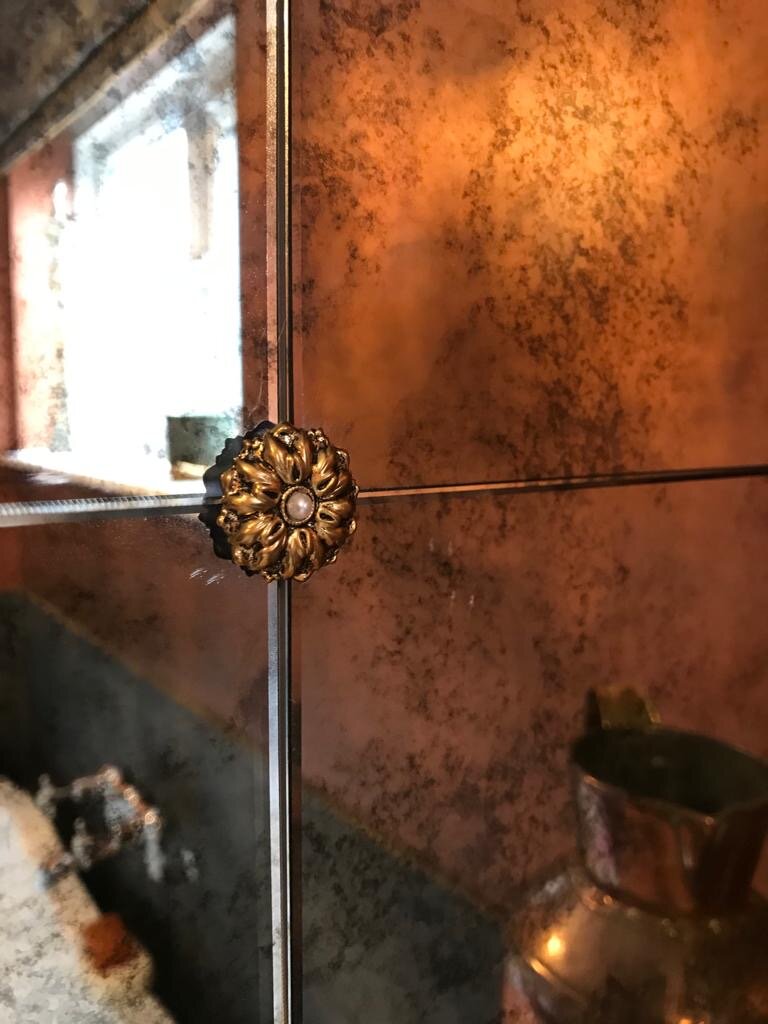
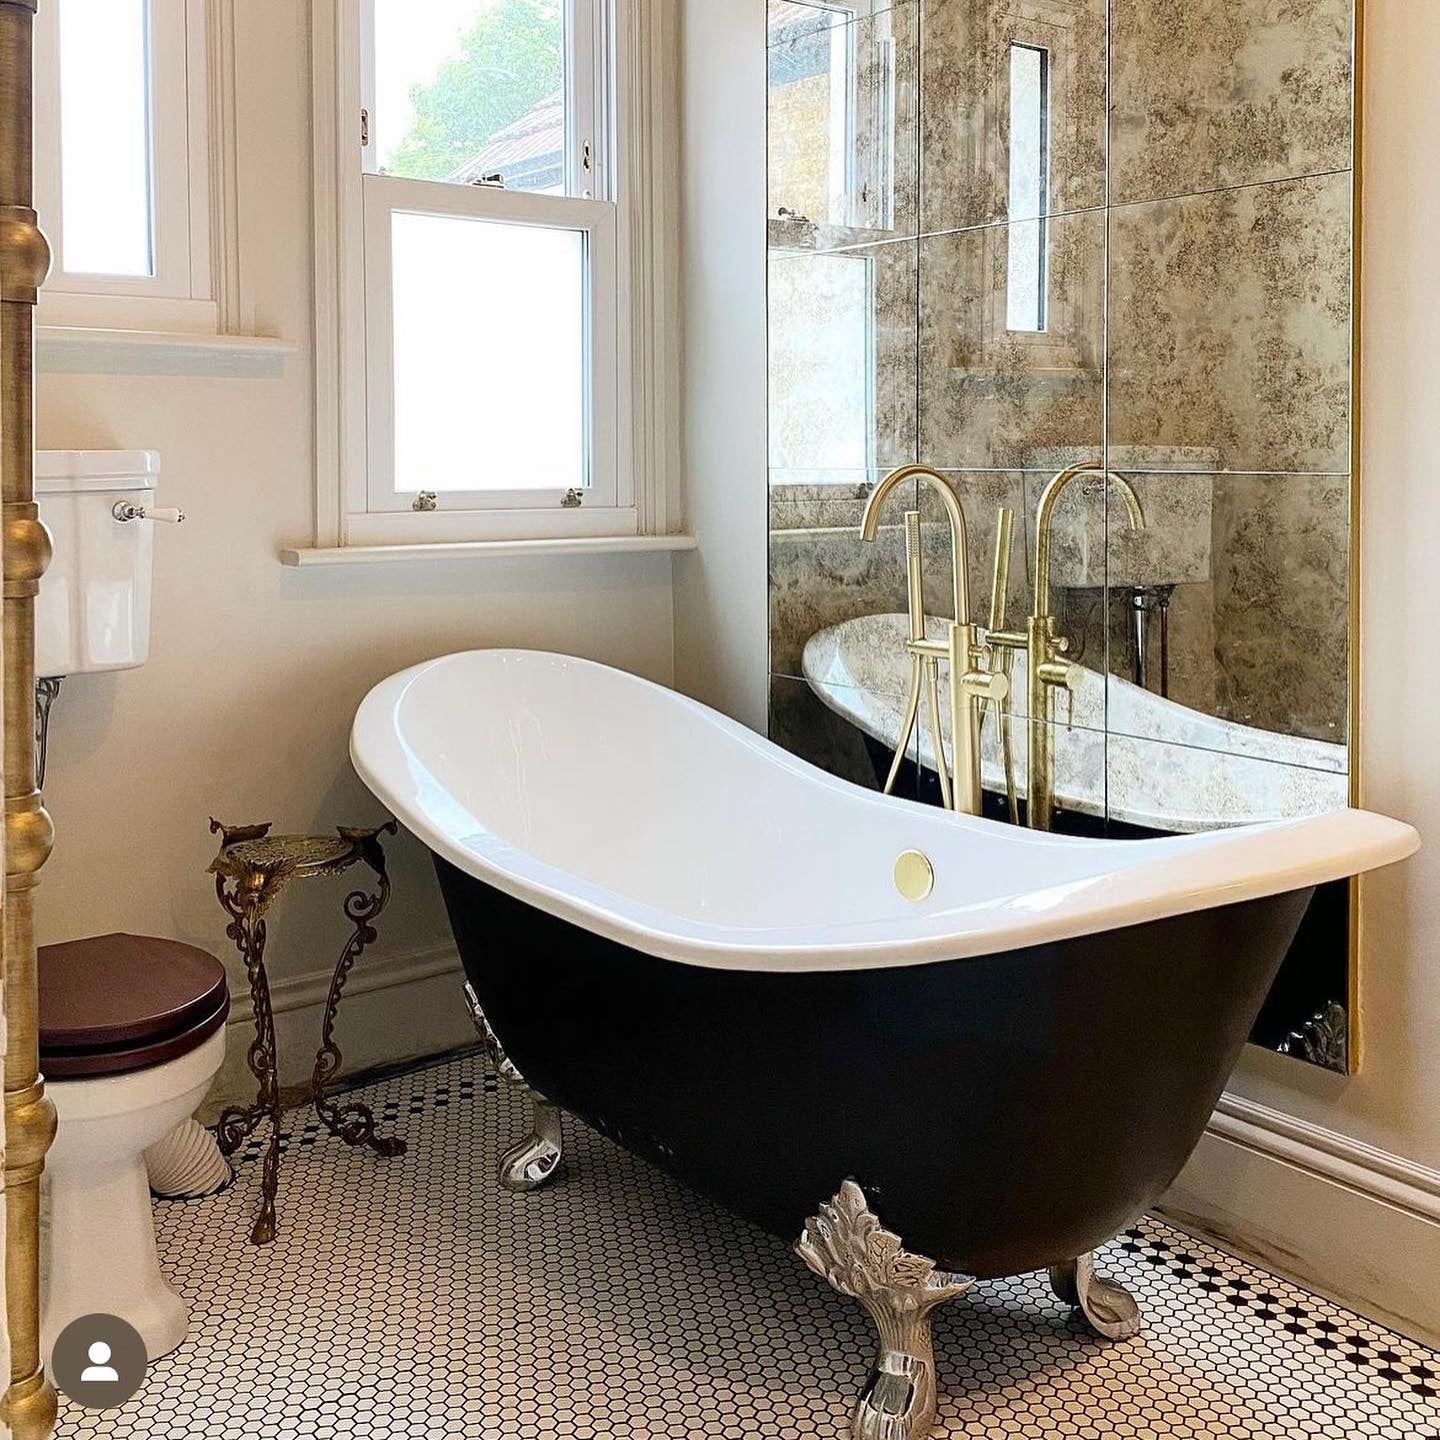
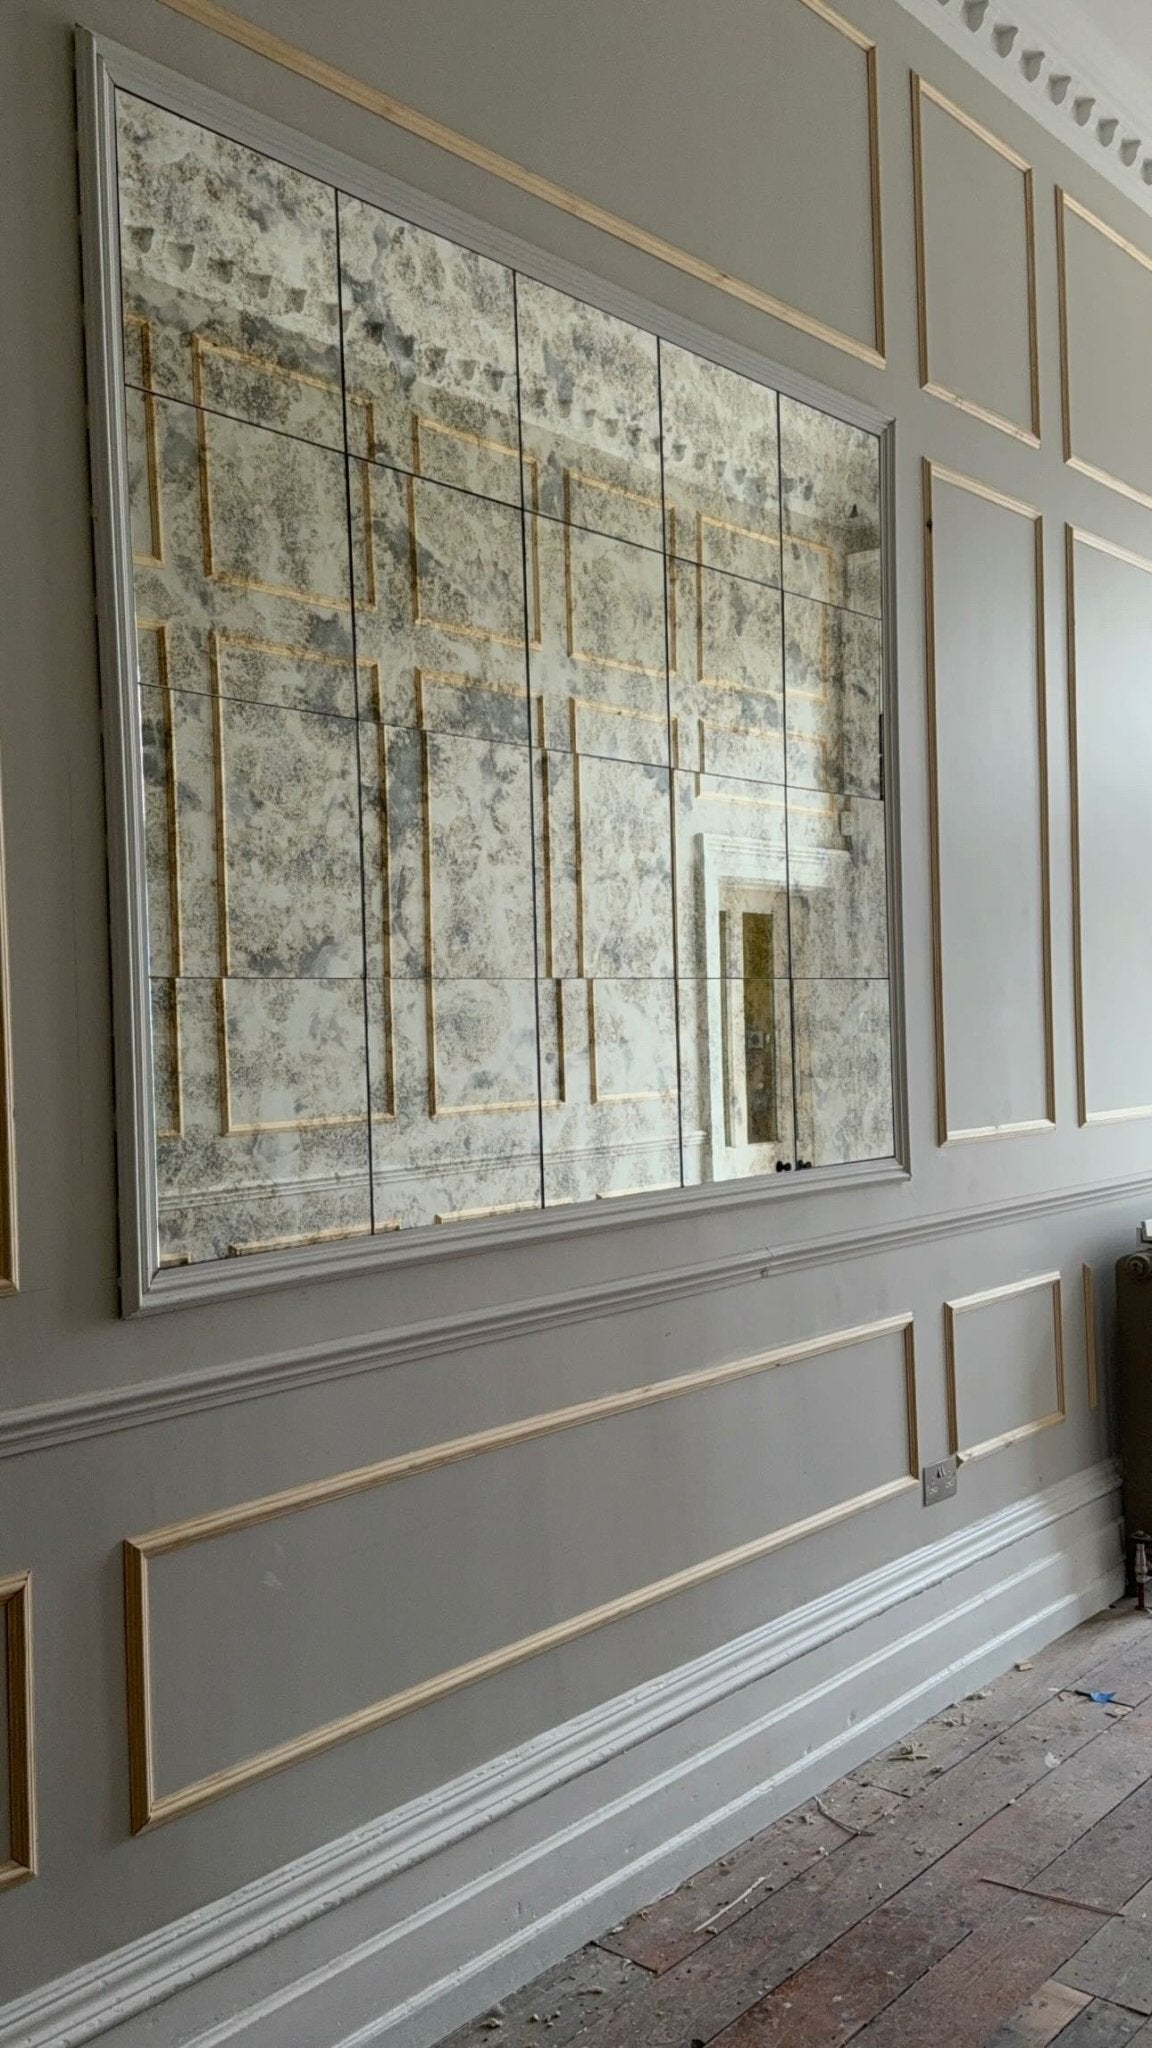
Antique mirror tiles can add a touch of elegance and vintage charm to any space. Whether you're looking to create a stunning feature wall or add a unique accent to your home, installing antique mirror tiles is a great way to achieve a timeless look. In this blog post, we will guide you through the step-by-step process of installing your antique mirror tiles with ease.
1. Prepare the Surface
Before you begin installing your antique mirror tiles, it's important to ensure that the surface is clean, smooth, and free of any debris. Start by wiping down the surface with a mild detergent and water solution to remove any dirt or grease. If there are any imperfections or rough spots, use sandpaper to smooth them out.
2. Measure and Plan
Measure the area where you plan to install the antique mirror tiles and calculate the number of tiles you will need. It's always a good idea to purchase a few extra tiles to account for any mistakes or future replacements. Lay out the tiles on the floor or a large table to plan the arrangement and ensure a balanced and visually appealing design.
3. Apply the Adhesive
Using a high-quality mirror adhesive, apply a thin, even layer to the back of each tile. Be sure to follow the manufacturer's instructions for the specific adhesive you are using. Avoid applying too much adhesive, as it can seep out from the edges of the tiles and create a messy appearance.
4. Install the Tiles
Starting from one corner of the surface, carefully press each tile onto the prepared surface, using a slight twisting motion to ensure a secure bond. Continue this process, working your way across the surface, until all the tiles are installed. Use a level to ensure that the tiles are straight and aligned.
5. Allow the Adhesive to Cure
After installing the antique mirror tiles, allow the adhesive to cure for the recommended amount of time. This will ensure that the tiles are firmly attached to the surface and will prevent any movement or shifting. Avoid touching or cleaning the tiles during this curing period.
6. Clean and Maintain
To keep your antique mirror tiles looking their best, clean them regularly with a non-abrasive glass cleaner and a soft cloth. Avoid using harsh chemicals or abrasive materials that can damage the mirror's surface. Additionally, be cautious when moving furniture or objects near the tiles to prevent any accidental damage.
By following these simple steps, you can easily install your antique mirror tiles and transform your space into a stunning showcase of vintage beauty. Enjoy the timeless elegance and unique charm that antique mirror tiles bring to your home!


Leave a comment
This site is protected by hCaptcha and the hCaptcha Privacy Policy and Terms of Service apply.